How To: DIY Faux Topiaries
how I made my faux topiaries
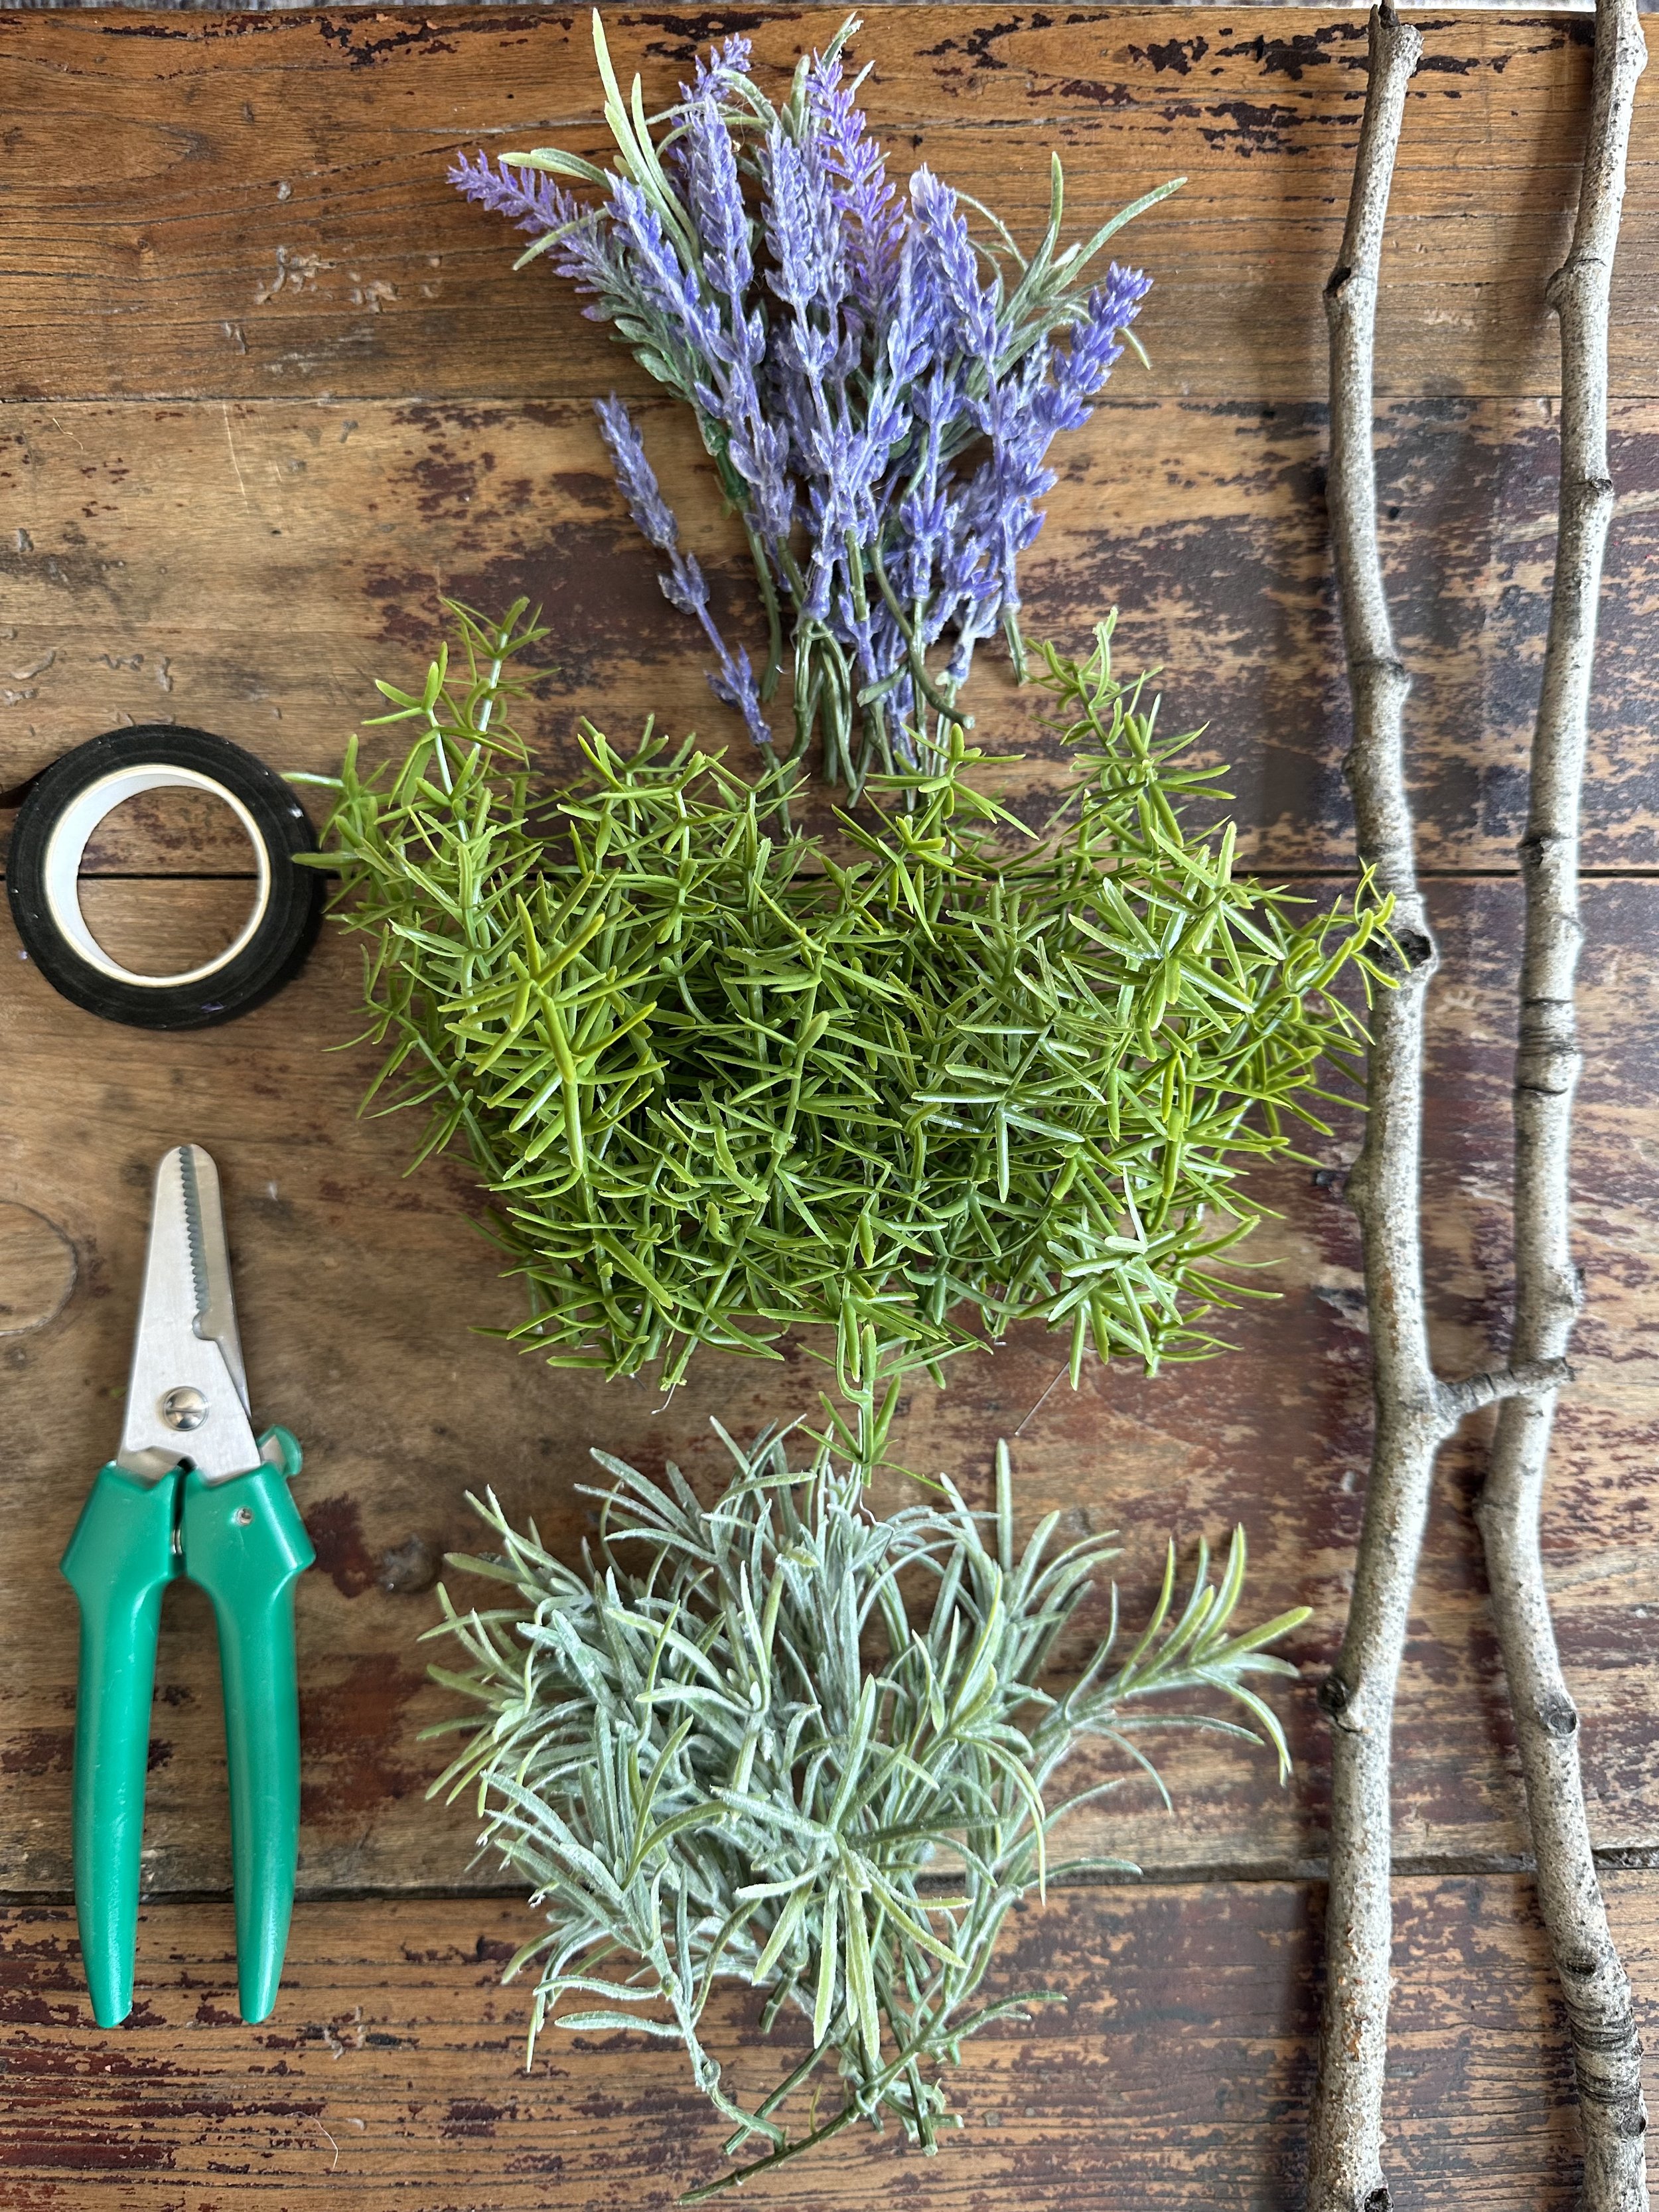
I have been on the hunt for some realistic faux topiaries for so long. Not only are they impossible to find ones that look realistic, but they are so spendy too. So I got my DIY skills and glue gun out and went to work. I found most of my supplies at Michaels or Dollar Tree. I cut up this garland, for the lavender topiary. I used this bunch of greenery for the rosemary topiary. Here is what else you will need -
Sticks from outside, any length you choose, the more unique the better.
Plaster of Paris (this is for the base)
Wire cutters
Hot Glue Gun
Red Solo Cup
Cute planters or pots
Moss
Step 1-
First, you’ll want to trim down your greenery. I wanted my topiaries to be round, but not perfect. I think each sprig of greenery is 3-4”. I wanted some variation for a more realistic look so they’re not all exactly 3-4”.
Step 2-
Start gluing your greenery to the sticks. I started about 2” from the top of the stick and worked my way up. You’ll want to be light on the glue, so only use what you need. In the end, I used a little bark from the stick to cover any glue that was remaining.
Step 3-
In a red solo cup mix your plaster of Paris according to instructions. I honestly just eyeballed mine. It hardens quickly, so work fast. Place your stick in the center of the cup, and use tape to stabilize it while the plaster hardens.
Step 4-
Place your completed topiary in the planter of your choice. Then grab your moss. I placed moss on top of the plaster to cover it up, and also give a realistic vibe. That’s it! You’re done! Enjoy your cute little finished topiaries.


