How to: Mix Wood Tones like a Pro
Mixing wood tones in your home can be a daunting and overwhelming task, but it’s most definitely something you can and should do. Not only does it add so much visual interest, but it definitely ups the cozy factor too.
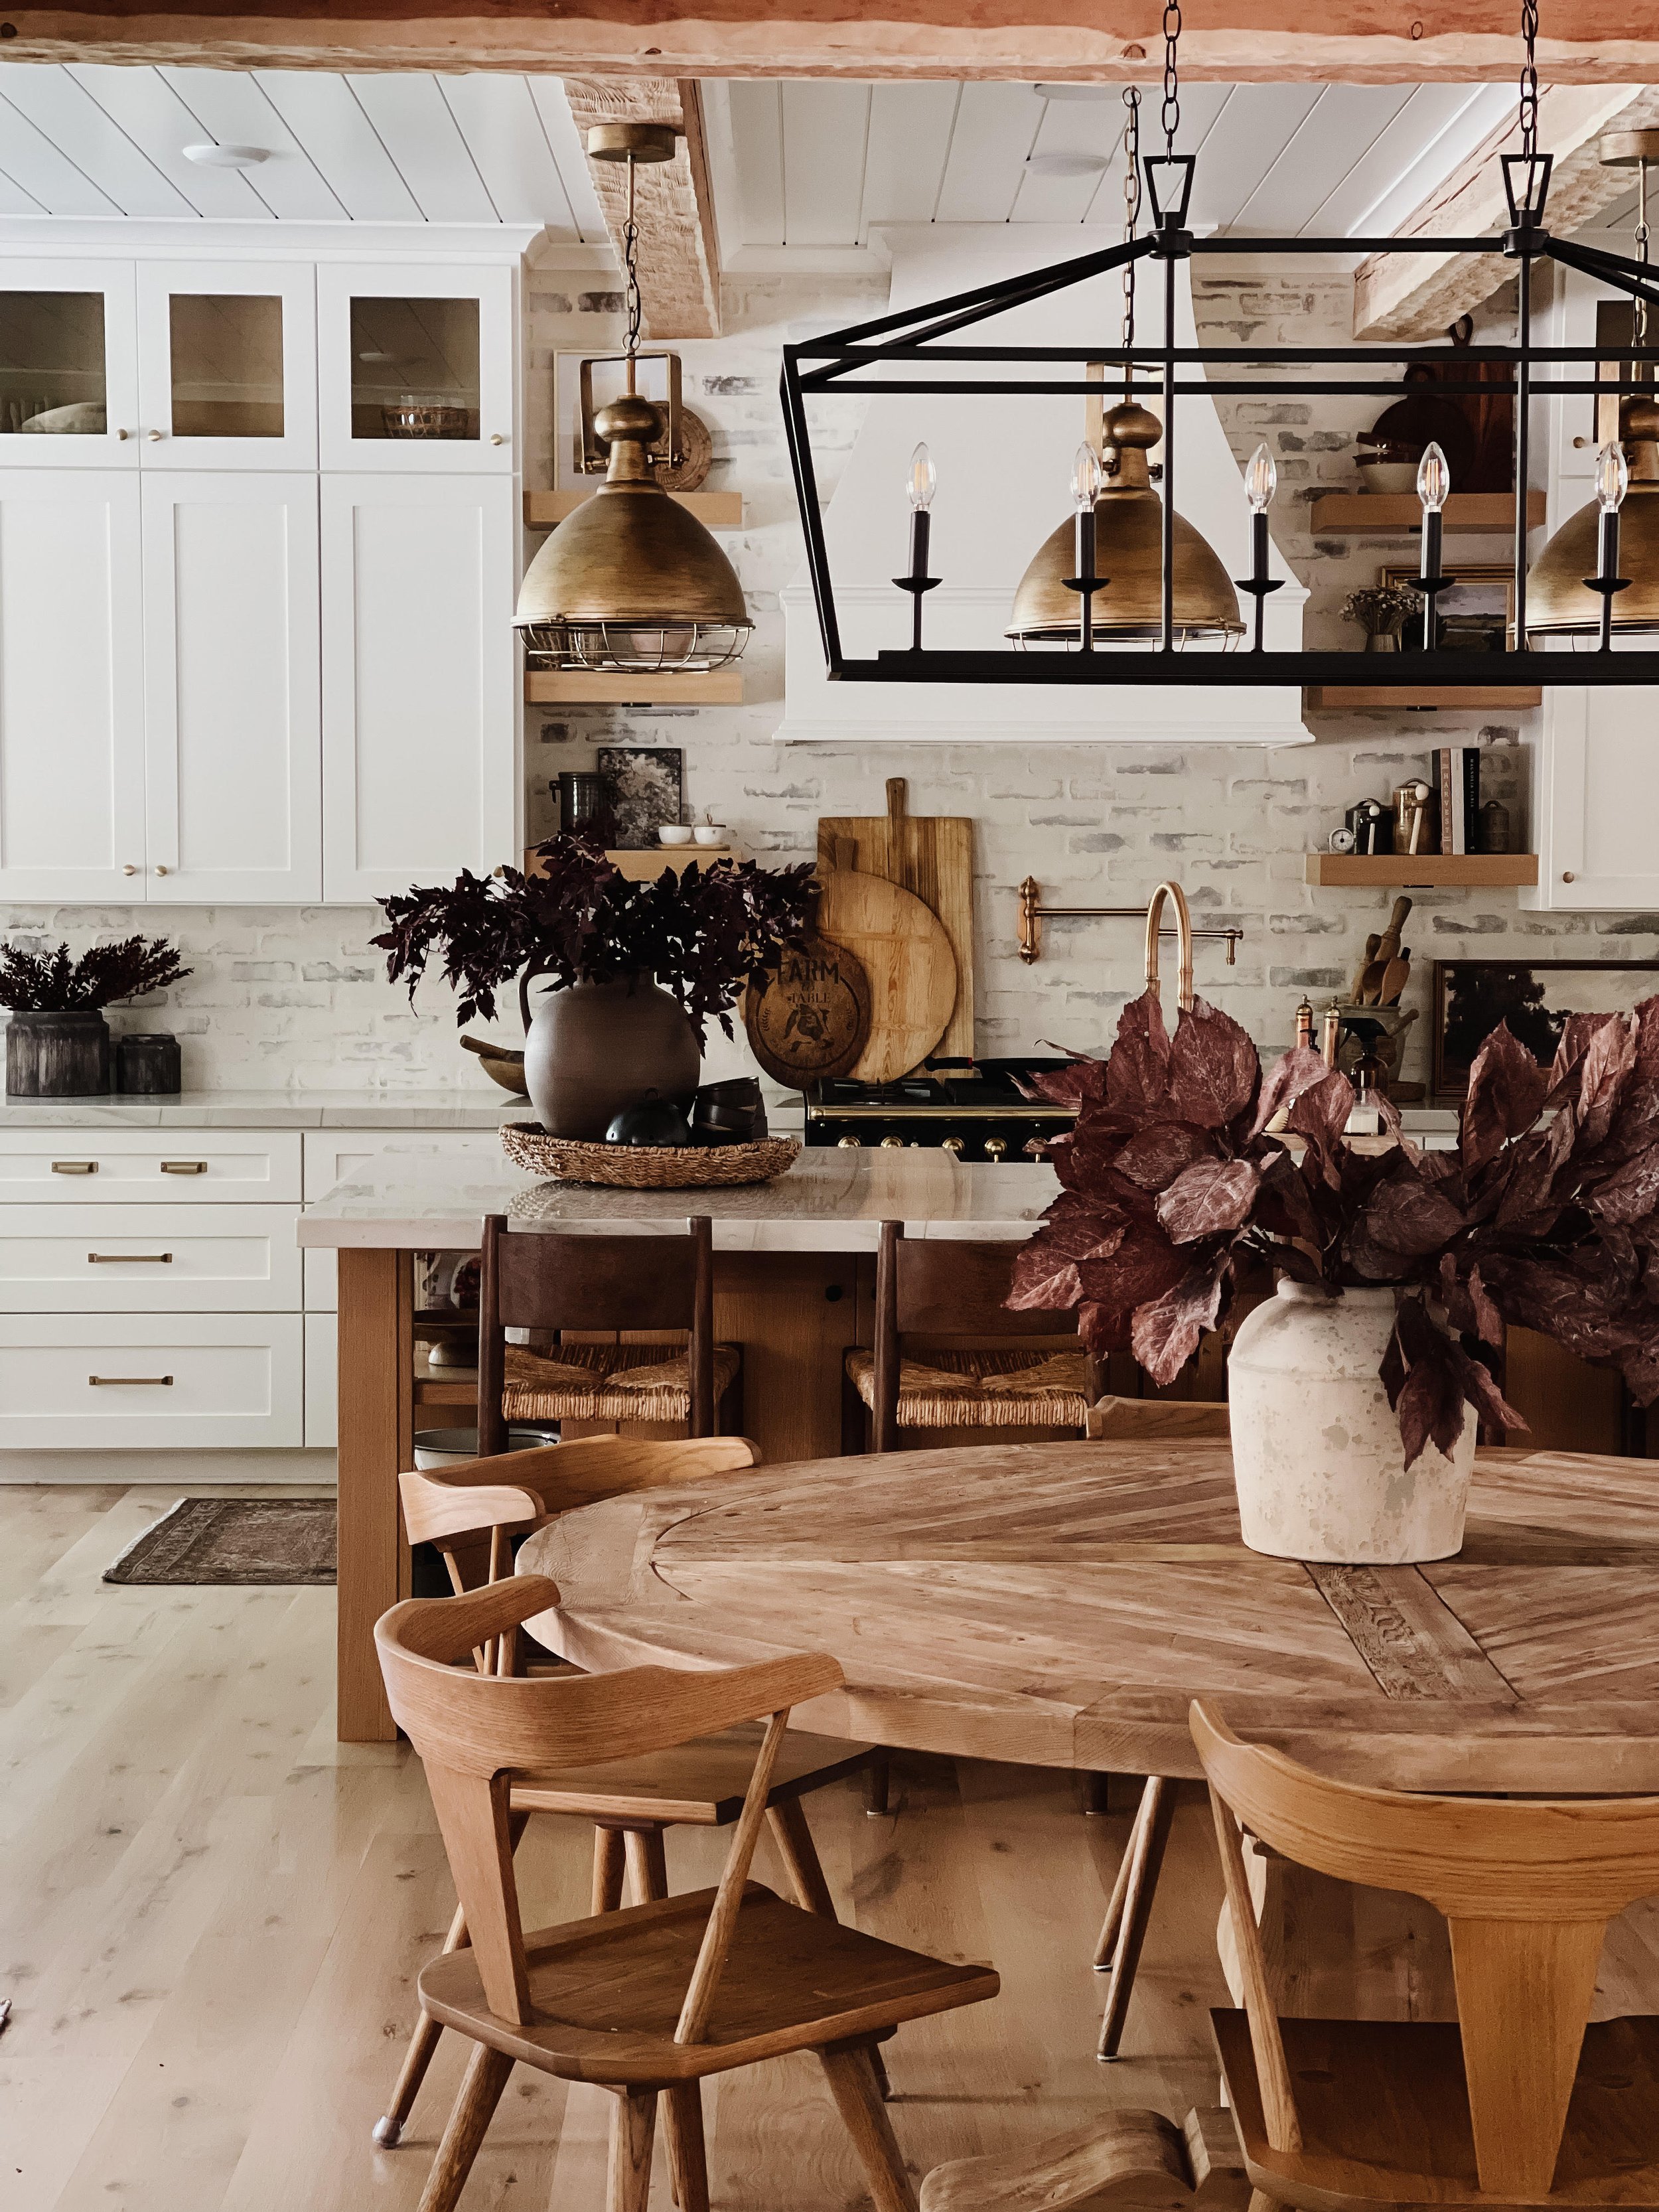
First you need to understand what tones work together and what tones do not. I am sure you have all heard the term “warm” or “cool”. This is in regards to the underlying pigment in your wood. Warm wood tones will appear more red, orange, yellow or golden. Warm wood varieties include White Oak, Red Oak, Maple, and Walnut. Cool toned woods will appear as having a grey, blue or greenish hue to them. Usually wood with a cool tone is stained to look this way, most wood tends to be warm in it’s natural state.
Once you have determined if your wood is warm or cool you can compliment your wood tone by staying in the same color family, but going either lighter or darker. Complimentary colors look good together, but you can see the visual difference between the two.
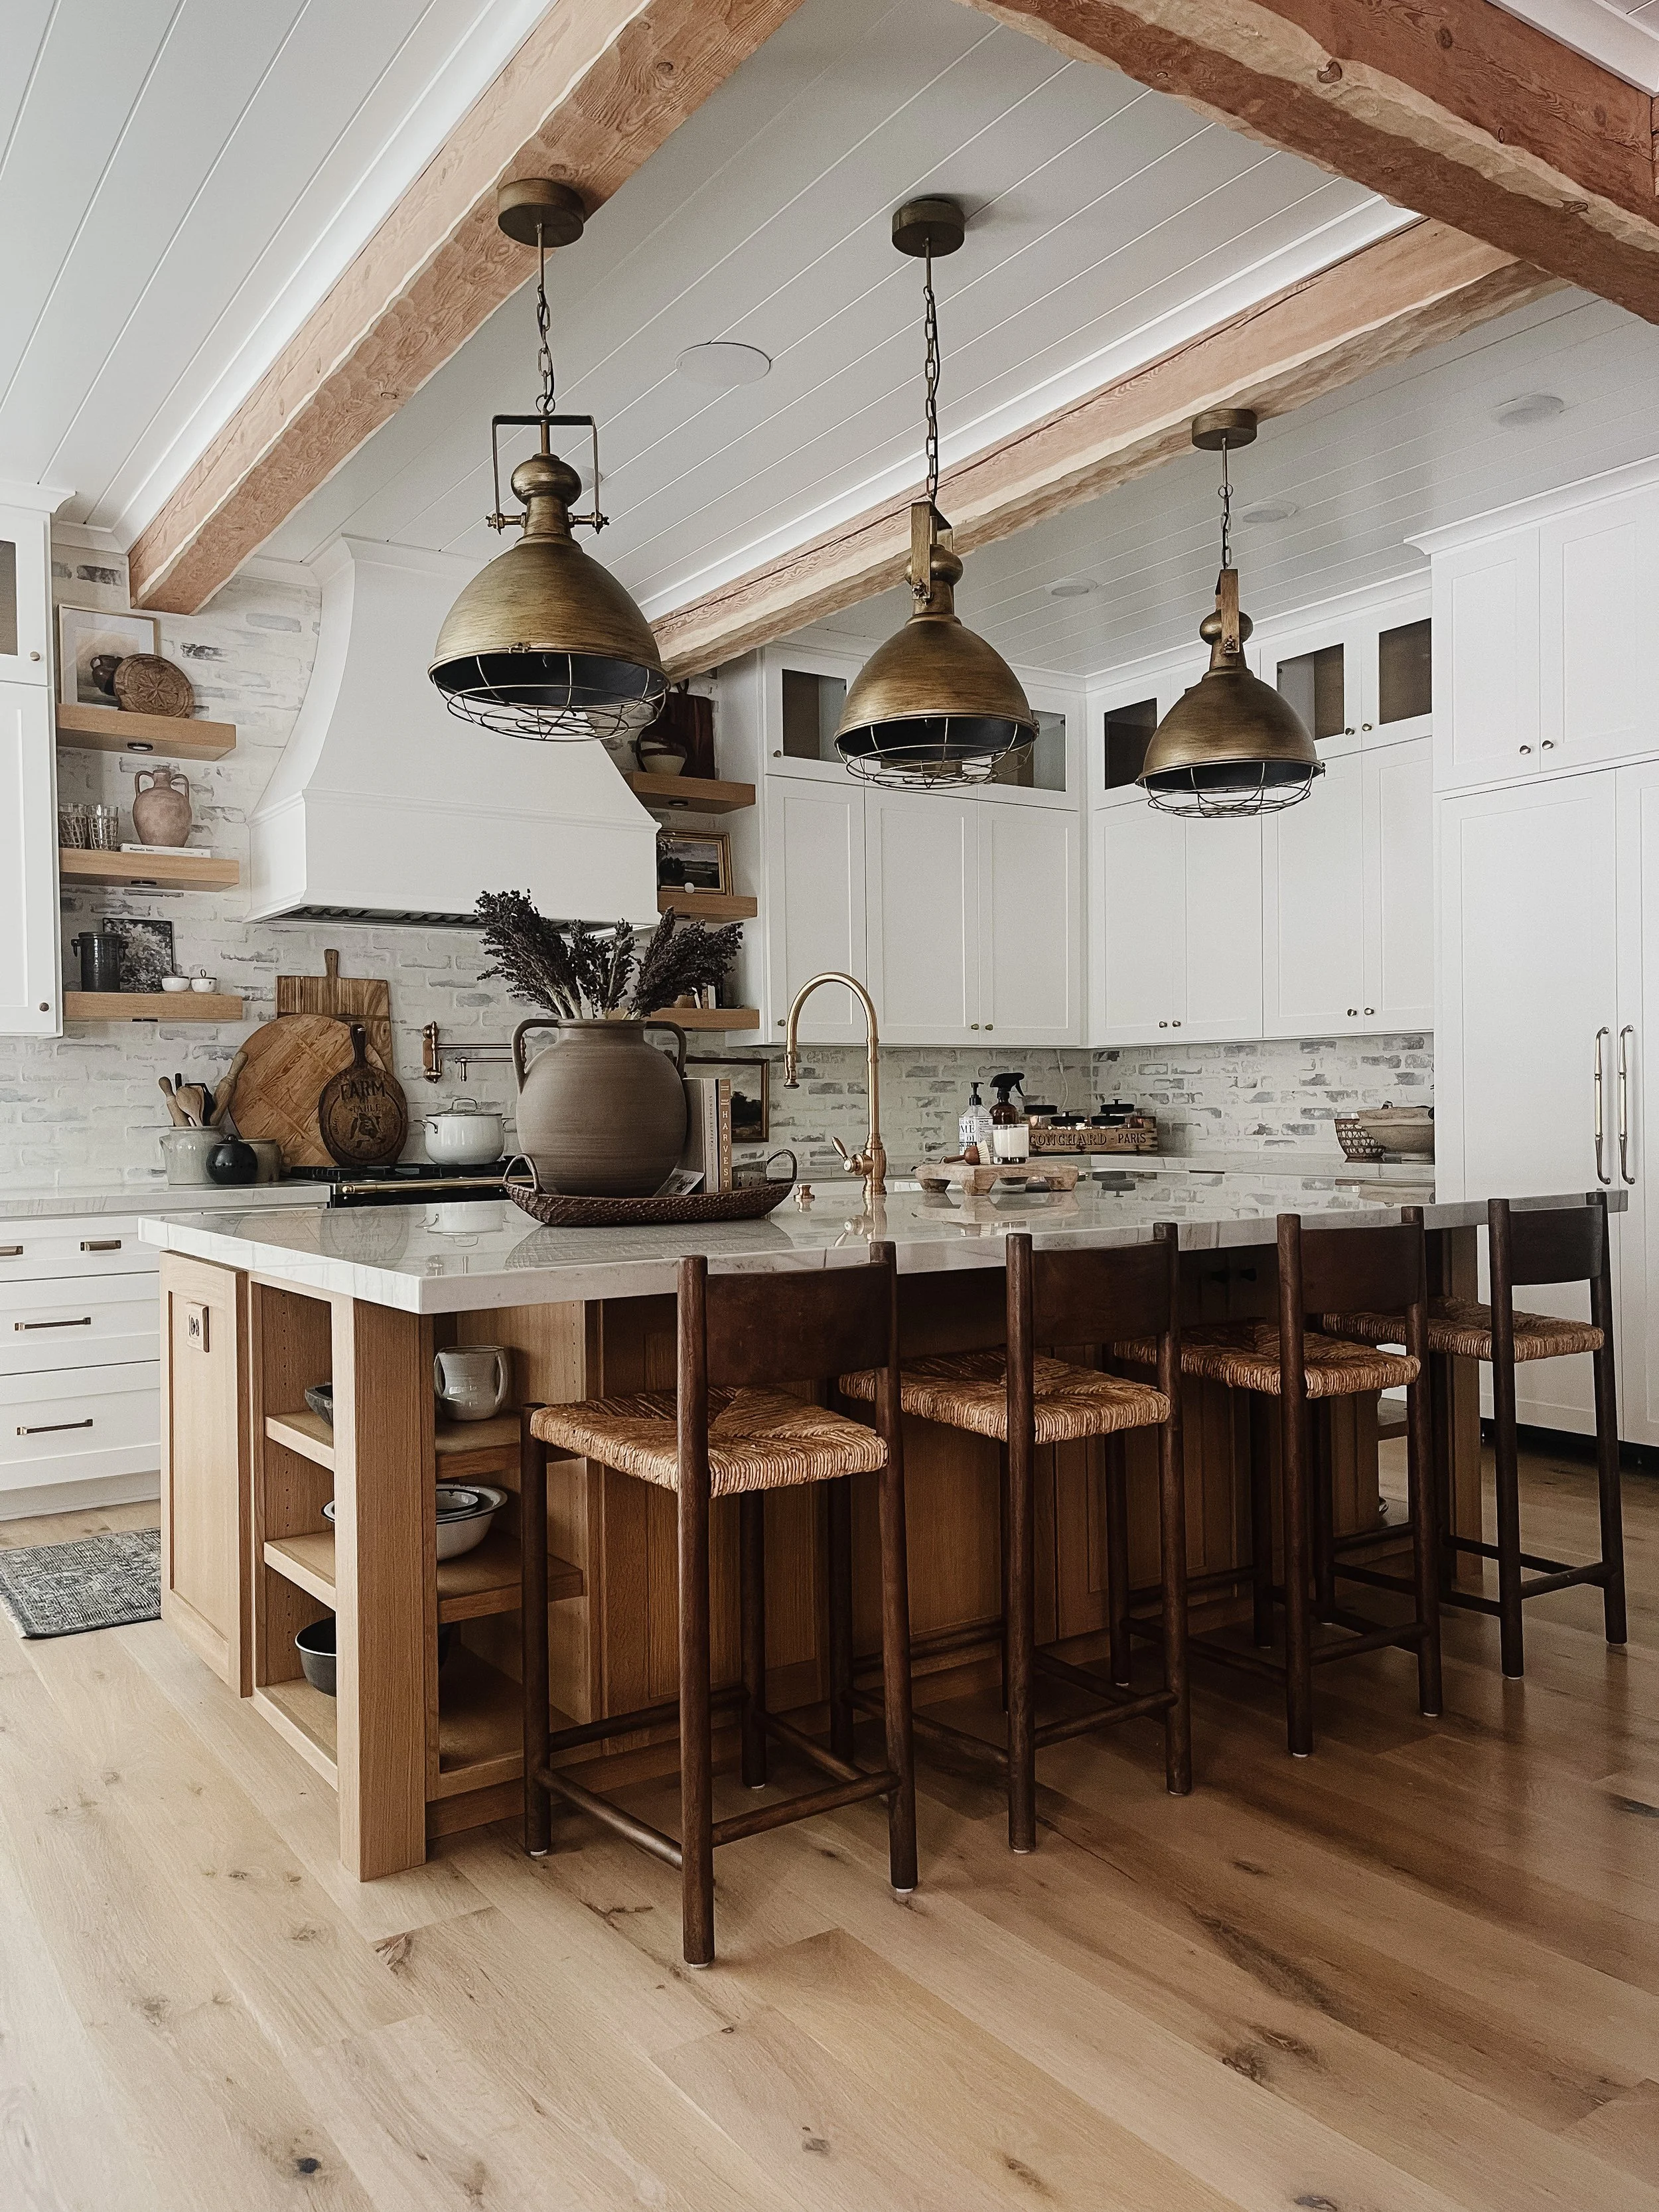
My general rule when mixing wood tones, or even metals, is to duplicate the wood at least twice in each space.
I have just started introducing dark wood into our kitchen. I started with the dark wood counter stools. Note that both the light wood, and the dark wood compliment each other. They are both “warm” woods. This is really important. I then tied in the dark wood using accessories. I added some darker wood cutting boards to tie the two together. I could have also stained our ceiling beams darker, added a dark wood vase, sideboard etc. The general rule is that each wood tone needs to be seen at least twice when you step back and look at the completed space.
I really love the addition of the dark wood into our kitchen, don’t you? I hope this answers any questions you may have about mixing wood tones, and I hope you love the completed look as much as I do!


